The Amagisan Maru was a large freighter launched on 6 November 1933 by
Mitsui Bussan Kaisha Ltd of Tama, Japan. The ship was 7,620 tons gross, 137 metres (454.0 feet) long and 18.3 metres (60.0 feet) wide. Powered by a single 8,470 hp Mitsui Bussan (Mitsubishi) B&W six cylinder diesel engine, she entered service on 26 December 1933 for the builders, Mitsui. Although built as a cargo vessel, she also carried passengers.
Amagisan Maru before the War
The torpedo about to hit the Amagisan Maru
The Amagisan Maru was used on the New York to Japan route but on 28 September 1941 the ship was placed in the service of the Imperial Japanese Navy as a special transport. On 14 February 1942 she was attacked by the submarine USS Swordfish and suffered some damage.
Two years and three days later the Amagisan Maru was anchored off the south-western corner of Uman Island in Chuuk Lagoon when the first planes of Operation Hailstone flew into the vast lagoon. The Amagisan Maru was the largest of the ships anchored on this side of the island and the planes from USS Bunker Hill targeted her for death. Five Curtis SB2C Helldiver dive bombers attacked the Amagisan Maru during Strike 3D at about 1250 hours
One 1,000lb bomb hit and then four Grumman TBF Avenger torpedo bombers madetheir run on the ship. Photographs show a single torpedo hitting the ship (the second edition of WWII Wrecks... - see references below - has this on page 173 and incorrectly calls it the Sankisan Maru) and soon after a huge smoke pall rising from the ship. The hit was on the starboard side just in front of the bridge. The Amagisan Maru sank within 15 minutes.
The wreck was discovered in 1973 by Sam Redford. This is not one of the most dived wrecks, for reasons which I cannot fathom. I assume this is because to get there you go past a lot of other, better known, shipwrecks. It is a bit further from Moen to get there, but only a few hundred metres past the Sankisan Maru. It certainly cannot be because it is too deep or not interesting enough.
When I first wanted to dive this wreck back in 1997, the dive guide, Meckency, who had been diving the Chuuk Lagoon wrecks for seven years at that time, had never been to this wreck. Back then virtually no-one ever dived it. We had to get another guide, Randy, to take us all out and show not only Daryl, Eddy and myself the wreck, but show Meckency. We had such a great dive! A lot more people dive it now, but it is still not one that you get taken to unless you ask for it. I reminded Meckency of this when we dived with him in October 2011.
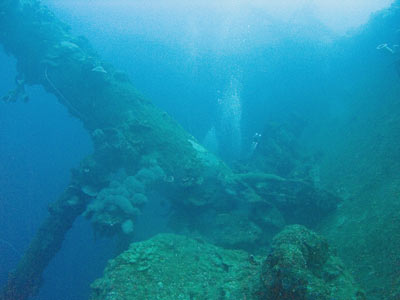
Today the Amagisan Maru lies at a GPS Reading of N7º 17' 27.5" E151º 51' 53.2" using WGS84 as a datum. This will put you on the bridge. The wreck is on a gentle slope with the bow in less than 40 metres and the stern in 58 metres. The wreck has a 45º to 50º list to port and faces back towards the southern end of Uman Island. The starboard rail is about 31 metres deep towards the bow, 34 metres at the bridge and the port side is 41 metres below hold one. Dive boats generally anchor on the bridge.
As this is a very large wreck, it takes a number of dives to even get an overview of the wreck. For a first dive (the only one I did on the wreck back in 1997 but I did two more in 2011), stick to the area in front of the bridge. If you do a second dive, head to the stern area.
First Dive
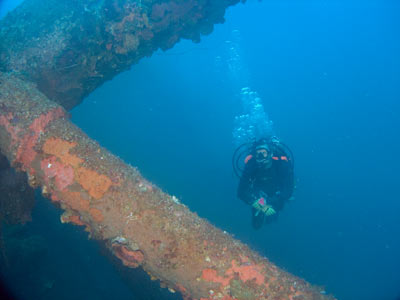
After descending to the bridge, swim the short distance over the starboard hull in front of the bridge to the huge torpedo hole. As you travel over the hull you will see the degaussing cable that surrounds the hull (for detailed information, see degaussing explanation - degaussing is basically demagnetising to not attract mines).
The torpedo hole on the starboard side of Amagisan Maru
Adam Florence inside Hold 3 and the torpedo hole
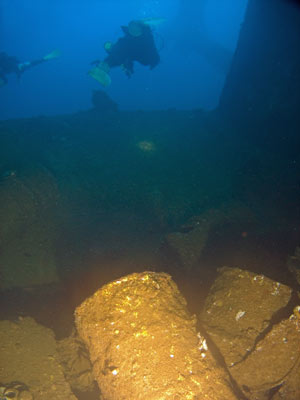
The torpedo hole leads into Hold 3. It is a very large hole and there is much twisted and destroyed metal plate and girders inside the hull from the explosion. The hold is full of hundreds of 200 litre drums. The depth here reaches 45 to 50 metres.
Hold 3 is elevated over the front two holds and after exiting it you pass the kingpost and then drop a level to the deck above Hold 2. Hold 2 is located between the two kingposts (there is another between Hold 2 and Hold 1). It is a very interesting hold, with many items, some of which are unique to the Amagisan Maru.
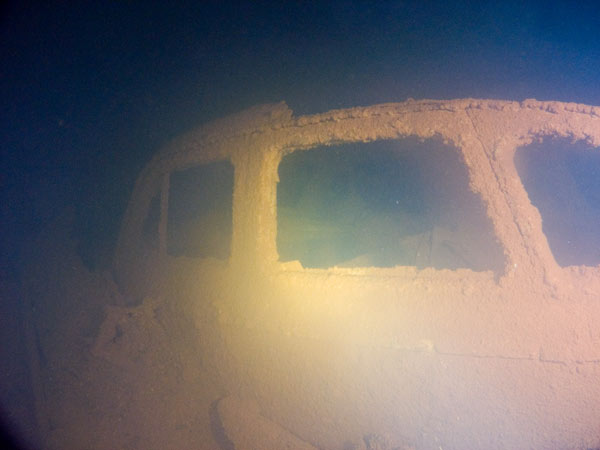
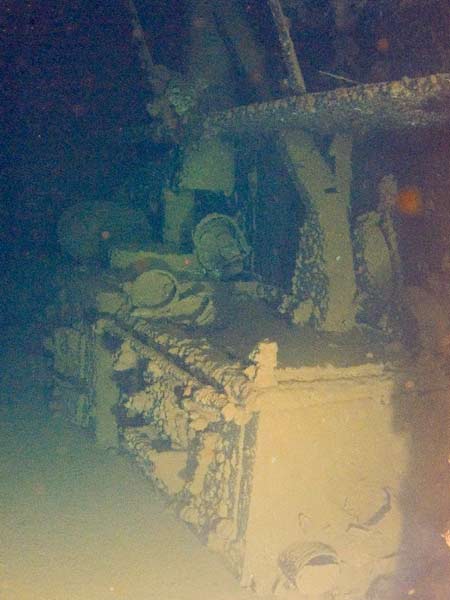
As you enter the hold, look towards your right on the "floor" of the 'tween deck. Here there is an almost fully intact sedan car. The body of the car lies front towards the stern but the chassis is at 45º. As the ship has sunk, the car has somehow fallen off the chassis. The engine is now out in the open (it is a six cylinder). The body has some damage, including a dent in the roof and boot. The roof has now almost totally corroded away, presumably because of the damage.
The car in Hold 2
The boot and rear mud guard of the car
It is reported that there is another car behind this car, but I neglected to see it on my first dive on the wreck (my two buddies did though). On my third dive I also did not see it even though I went in here. Forward of the car there are at least seven bicycles. They are mostly packed in pairs, perhaps in timber boxes. The depth here is 48 metres.
This hold also has heaps of timber, mostly in the bottom of the hold (that is, towards the back as you enter the hold). The timber is planking and some larger pieces like wharf piles. Timber is also found in the 'tween decks near the cars. There are also some more 200 litre drums in the bottom of Hold 2.
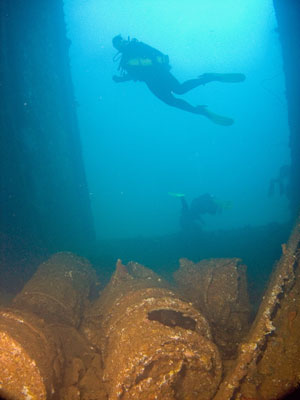
Some of the 200 litre drums in Hold 3
Adam Florence passes the forward kingpost
When inside Hold 2 and heading forward it actually looks like the hold is huge. In fact, it seems that Hold 2 was originally roughly partitioned from Hold 1. Either way, it looks like one large hold once you are inside it.
As swim forward you enter the rear part of Hold 1. On the bottom section there are more drums and, more interestingly, some aircraft parts. There are a number of aircraft wings and in the 'tween decks there are more wing sections. Some of the parts may actually be aircraft tails. There are also dozens of aircraft propeller blades.
As you exit the hold you can see the covers from Hold 1 (and maybe Hold 2) lying on the port deck and over the railing onto the sand. There are even more drums out on the sand.
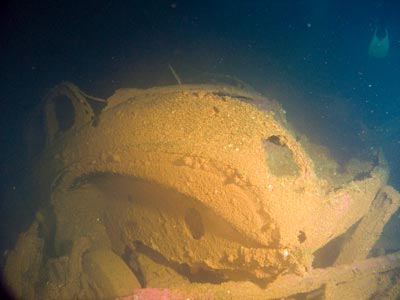
The tanker truck from outside Hold 1
The tanker truck from closer up - the radiator is prominent
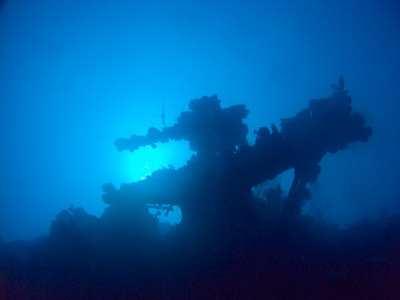
At the bow there is a gun platform and gun. This is not a particularly large gun like many of the other Chuuk wrecks, but it is still quite attractive. The gun points almost straight ahead. You can get a nice photograph from the bow looking back, with the kingpost in the background.
The starboard side anchor hangs down. The forecastle on which the gun platform rests can be entered but I do not recall seeing anything of particular interest.
A photograph of the bow gun from below
Jessica McInnes and the bow gun from the front
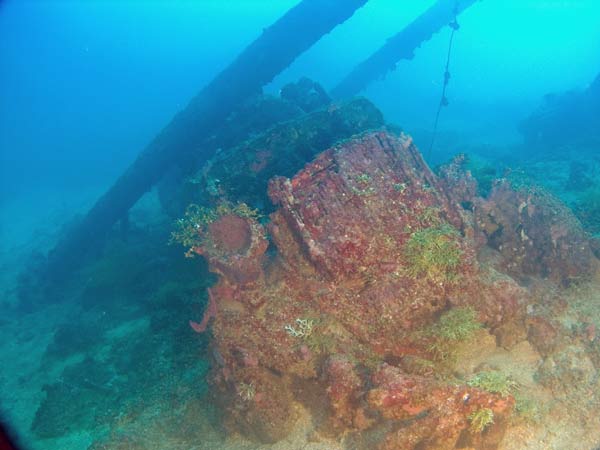
As you leave the bow to head back to the bridge area, you will see the front mast angled out over the sand due to the large list of the ship as it rests on the bottom. To exaggerate this further, the derricks from this now rest touching (or almost) the sand on the port side. Follow the mast and derricks out to the sand and a surprise is waiting.
As well as seeing more 200 litre drums lying out on the sand, there is an almost fully intact truck which was probably a petrol tanker. This rests upright facing the bridge. Unfortunately, the derricks have landed right on top of the tank, crushing it a bit and moving it off the chassis as well. However, the truck is a very attractive looking object and photographers and videographers should make sure that they leave time to make use of its natural attributes. The radiator, driver's compartment, engine and rear part are all good opportunities for a great photo of piece of footage.
The bicycles in Hold2
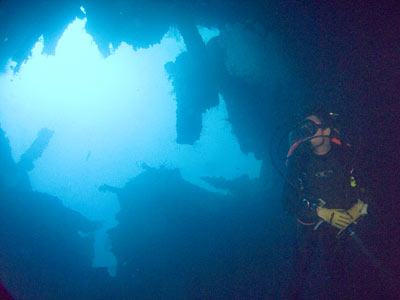
Looking out of Hold 3
From here, swim back towards the ship, aiming for Hold 2. Ascend a bit to conserve air and bottom time and then go to the bridge. As you approach the bridge you will rise up a deck to Hold 3 (the one you came through after the torpedo hole) and right behind it there is another hold. This is very small and has a lot of coal in it. This is strange as it is a diesel powered ship and there was no need for coal storage. Perhaps this ship was originally steam powered (it is the right age) and then converted later.
Between this hold and the bridge there is a three or four metre long cylindrical object lying on the deck. This is not a torpedo as you might first think but a minesweeping paravane (similar to but larger than the ones on the Nippo Maru but about the same size as the two on the Fujisan Maru).
There are doors on this level that go into the superstructure, one on the port side and another on the starboard side. We looked into the starboard one and there were too many wires hanging down to make it safe to enter. The upper levels of the bridge are very open, with the flying bridge (built from timber) having totally rotted away. The lower decks of the bridge can be easily entered a number of ways. The funnel still sits in place and behind it there are the engine room skylights.
Hold 3 of the Amagisan Maru
The funnel of the Amagisan Maru
This is about all you will get to see on a single dive but there is heaps more to be seen in the rear section of the ship.
Second Dive
On a second dive here you will probably want to revisit Hold 2 and perhaps the tanker truck on the sand at the bow. Once you do this, head back past the bridge to Hold 4, probably via the deeper port side.
Hold 4 is mostly empty, but there are a few timber boxes. Whatever was inside them has rotted away, it is now just a mushy black stuff. Similar boxes are also on other wrecks (Nippo Maru for example). My thoughts are that they may be something like charcoal for cooking. Do not put you hand inside as you will end up with a filthy glove - I had to throw mine away after the trip!
One of the ventilators on the bridge area
The rear deck of the Amagisan Maru
You can then go into Hold 5 via doors on the starboard or port side of the 'tween deck. Hold 5 is also empty. There is a huge amount of damage on the port side past here, adjacent to Hold 6. From here you could go to the stern where there is a stern gun. I have not been there as even doing two dives on one trip we did not have time to get there.
Back to the bridge area and you can enter the lower areas and examine some of the compartments. If you go in the starboard door just in front of Hold 4 you will see the galley on the left. There are also some basins in here. Ascending to the top level you can see lifeboat davits, ventilators, the skylights and funnel. Forward, there appears to be no telegraph or helm on the bridge. Time again to ascend.
You can enter this, the port door, at the rear of the bridge or the starboard one
The galley of the Amagisan Maru
The visibility here is normally 30 to 40 metres so it makes the dive even more exciting. A dive to the bow with a bottom time of 22 minutes requires 1 minute at 9 metres, 5 minutes at 6 metres and 13 minutes at 3 metres. A dive for the more experienced diver, but one that is not out of reach of most divers who go to Chuuk Lagoon.
A truly great, underrated wreck, well worth many dives. Brilliant!!
VIDEO
Shot 19 November 1997, divers Eddy Labour and Daryl Gibbs.
Video shot by Kelly McFadyen during our 2011 trip to Chuuk.
 v6.00.307 © 2003-2005