|
On Monday 3 February 1903 a new ship was launched from the William Denny & Brothers shipyard at Dumbarton, Scotland. The new ship was a passenger cargo vessel built for the Australasian United Steam Navigation Company. The ship was named SS Kyarra (said to be Aboriginal for small fillet of possum fur).
The Kyarra was a steel hulled twin screw ship powered by twin triple expansion coal powered steam engines. The new ship had five boilers (two for each engine and one for a donkey engine). The ship was 415 feet (c 124 metres) long and was 52 feet (c 15.6 metres) wide with a depth of 28 feet (c 8.5 metres) with a gross tonnage of 6,953 tons.
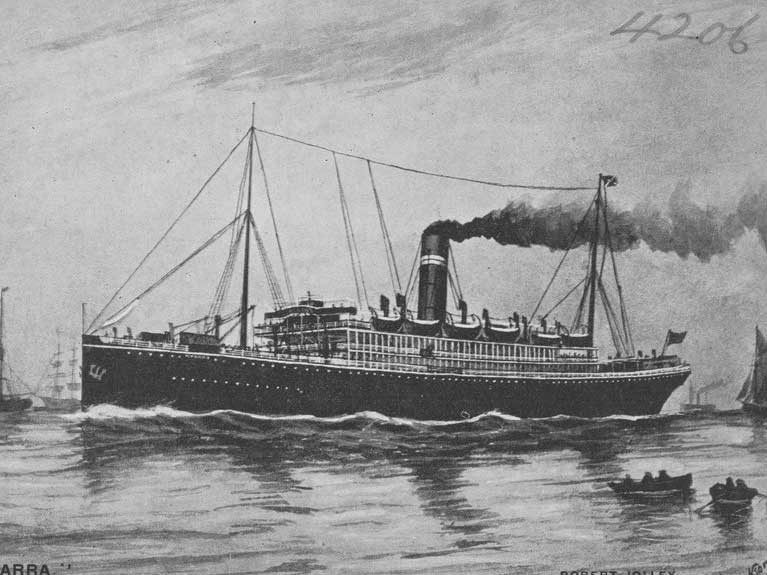 |
| SS Kyarra before the war |
When completed, the Kyarra was said by contemporary newspaper reports to be a room and comfortable passenger steamer with electric light and wireless installations. She had accommodation for over 250 passengers, including in a number of well-appointed staterooms on two decks amidships. On her commissioning late in 1903, Captain J. McIntosh was appointed to the command
of the vessel.
The Kyarra was the first interstate steamer on which three classes of passenger accommodation were provided. She commenced her maiden interstate trip from Melbourne to Adelaide, Albany and Fremantle on 12 August 1903. The career of the vessel on the Australian coast was comparatively uneventful. Originally running on the Western Australia to Victoria run, she later moved to the Victoria to northern Queensland run. On her later service, she ran from Melbourne to Sydney, Brisbane, to ports in northern Queensland.
After the start of World War I, she was requisitioned in October 1914 (or perhaps on 6 November 1914) for overseas service. Now known as HMAT Kyarra, (His Majesty's Australian Transport), the Kyarra was used in several different roles - as a hospital ship and a cargo carrier.
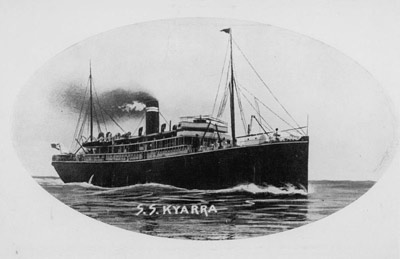 |  |
| Another photo of SS Kyarra before the war | Yet one more of SS Kyarra |
When she was taken over by the Commonwealth of Australia, her hull was painted white with red crosses amidships and she was fitted up structurally as an hospital ship. On 5 December 1914, flying the Geneva flag at the masthead, she sailed from a berth in the Victoria Dock (Brisbane) with five fully equipped medical units on board. Her departure, which was twice deferred, attracted considerable interest as she was one of the first hospital ships to leave Australia. On board were 71 medical officers, 161 nurses and 555 other ranks.
Sister Olive Haynes who was on board the ship wrote that "SS Kyarra was not a suitable vessel for transportation of hospital staff, equipment and troops...was overcrowded; sanitary and hygiene arrangements were very elementary.." and more. She passed through the Suez Canal on 13 January 1915 and arrived in Alexandria. Here all the medical units were off-loaded instead of travelling onto England as originally planned.
Hospitals were established at Heliopolis, Zeitun and Mena. The Kyarra subsequently returned to Australia with Australian soldiers, 169 of whom were declared unfit to serve and another 132 who were had disciplinary problems. She departed Alexandria on 3 February 1915 and arrived in Australia in March 1915.
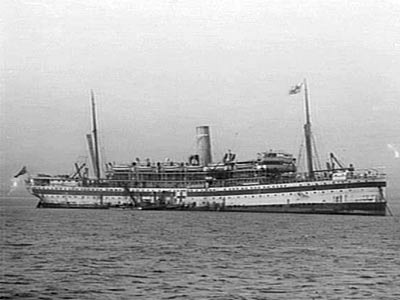 |  |
| HMAT Kyarra as a hospital ship | HMAT Kyarra in 1914 |
After this trip, the Kyarra was converted again, this time to a troopship. She then sailed to Egypt with 900 troops on 16 April 1915. Most of the troops on this voyage went to Gallipoli in Turkey and fought at the Battle of Lone Pine on 6 August 1915. Over the next three years she did seven voyages from Australia to Egypt and England. On return trips she carried invalided troops.
Twice on these journeys she was attacked. Once, off Malta in the Mediterranean she fired her stern gun at a surfaced submarine. In 1915 she was rammed by a French ship Espagne, suffering considerable damage. She was repaired and resumed her troopship duties.
 | 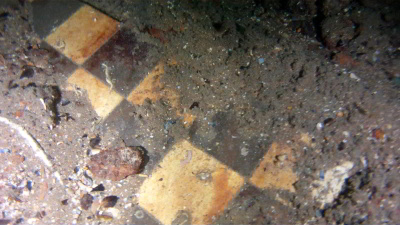 |
| The huge donkey boiler out in the open | Tiles still visible forward of the boilers on the sand |
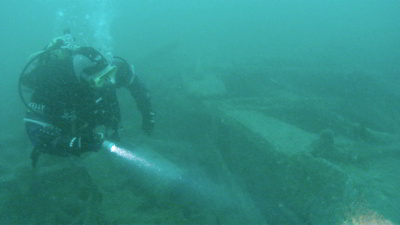 |  |
| Kelly swimming over the broken up forward section of the wreck | A life boat davit forward of the boilers on the sand |
In May 1918 the Kyarra was converted back to a hospital ship at Tilbury on The Thames River near London. Once this was completed, she was ordered to Plymouth to take on wounded troops to return to Australia. On 24 May 1918 she left Tilbury and stayed overnight at the entrance to the river. She passed through the Dover Strait into the English Channel and then anchored overnight in The Solent, between the Isle of Wight and the mainland.
On the morning of 26 May 1918, the Kyarra left The Solent and headed west. She did not get far before a torpedo from the German submarine UB-57 hit the ship amidships on the port side. The blast shattered the steering gear and caused both engines to stop. She was taking on water fast. The explosion killed five engine room crew and one boy steward. The rest of the crew and some passengers abandoned ship into the lifeboats and the ship sank stern first 16 minutes after the torpedo hit.
Today the Kyarra lies at a depth of about 30 metres at GPS N50° 34.90' W01° 56.59' (using WGS84 I presume). The wreck has two buoys on it which will only be visible when the current has slackened off. This is about two kilometres off the headland south of Swanage, about five kilometres from the Swanage pier. It is about 10 minutes to the dive site.
 |
A map of the sites at Swanage - Swanage is located above the n in Down
Used courtesy of Divers Down dive shop, Swanage |
As mentioned, the site is prone to currents and can only be dived at high or low slack water. The wreck generally is tipped over to starboard.
 | 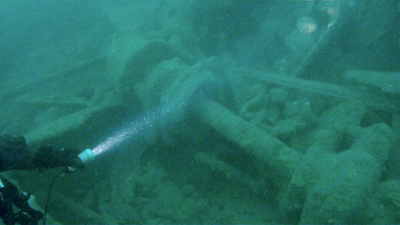 |
| The forward mast as it heads out over the sand | One of the deck winches near the bow |
 |  |
| Kelly and another winch at the bow | The huge anchor winch with chain running out bottom right |
Once the tide has begun to slow, you can enter the water and descend. The buoys are located at the bow and amidships. The best one to descend is the amidships shot which is attached to the wreck near the very large donkey boiler. This is out in the open.
Once you reach the bottom (about 24 metres on a low tide at the shotline), you should be able to see the very large boiler for the donkey engine. Most boilers for donkey boilers are small, but this one is as big as boilers I have seen on coastal colliers back home in Australia. From here head towards the stern (if it is high tide - head to bow if low tide - this will assist you in swimming both ways). As I dived it at low tide, I will describe the dive from the boiler to the bow and back to the boiler and then to the stern.
 |  |
| Kelly and the bow | Kelly approaches the spot
where the bow is broken from the rest of the wreck |
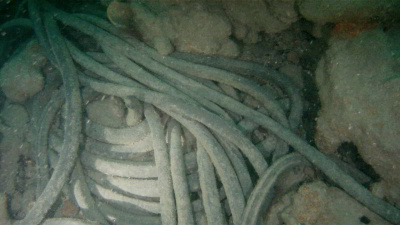 |  |
| A pile of rubber hose behind the bow | The timber on the deck in the section behind the bow |
As mentioned, the slight current at the start of the dive took us towards the bow. The depth of the sand is about 28 metres around the whole wreck. Straight away you will see that the deck of the wreck is tipped over at about 60° to starboard. The hull and deck are opened up in many spots and you can see inside the hull. At one spot there is a floor composed of brown and white ceramic tiles. There are many bollards, then a mast on the sand running out of sight.
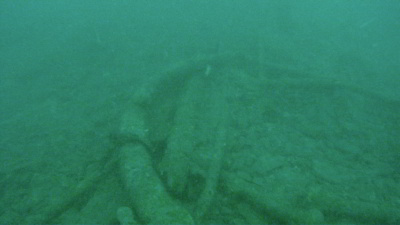
Near the mast there are a number of crane arms which are also on the sand. Towards the bow there are some huge winches for the cranes. There is also a very large anchor winch which has chain running out from it.
At the bow the wreck is broken in two, with the bow section still very intact. The bow section of the ship has tilted over to port rather than starboard like the rest of the wreck. By now you should have been down about 10 or 12 minutes and the depth is still 28 metres. The current has probably slowed by now or even started to run in the opposite direction back towards the stern.
Swim around the bow and come back along the deck side of the bow. I did not see any anchors, but they may be there. Back at the break you can see into the bow section. Also, as you swim over the main deck of the larger part of the wreck you can see that the deck has a lot of the original timber decking still in place. In spots you can see inside the hull and there are coiled rubber hoses and other objects.
 |  |
| Kelly and some bollards amidships | Kelly and the same donkey boiler shown
above, viz is much better now |
 |  |
| Kelly and one of the boilers still inside the hull | Kelly approaching the engine room area |
As you head back towards the stern, now with no current or a very slight one behind you, you are a bit shallower at 24 to 25 metres. When you see the donkey boiler, have a look at the main part of the wreck. Inside here you will see that there are two huge boilers, bigger than the one out in the open. If you look more carefully, there is in fact another boiler visible (there must also be one more but it is out of view).
To the stern of this there is a very open area where you can swim inside the wreck and exit further back. This is quite interesting and safe. Behind here there is the first of the two engines. As far as I could see, the engines are not set side by side, but one is a bit forward of the other. This is presumably because the engines were too wide to fit next to each inside the hull.
The engines are triple expansion steam engines and are almost totally over on their starboard side. This area is near where the torpedo hit so there is a fair bit of damage. At the rear of the engines the flywheels and prop shafts can be seen. The wreck is very opened up here due to the torpedo damage and natural attrition.
 | 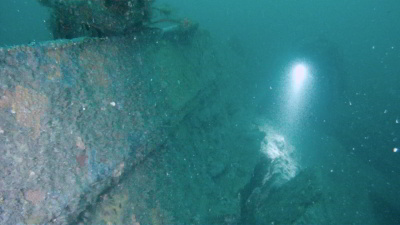 |
One of the triple expansion steam engines,
this is the low pressure cylinder | Kelly approaches the stern on the top of the port railing |
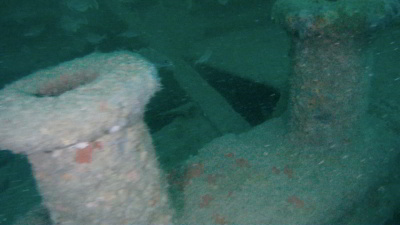 | 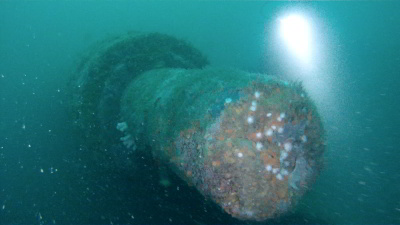 |
| A pair of bollards at the stern | Kelly is dwarfed by one of the prop shafts |
As you approach the stern you will see some more bollards and winches. The port prop shaft can be seen sitting high. The props were obviously salvaged at some time, well at least the port one (I am not sure if the starboard one is above the sand).
By now, we are well into deco, having hit it at 20 minutes. It is now 28 minutes into the dive so we decide to ascend. I shoot an SMB. We ascend slowly in the light current and end up doing six minutes of decompression at six metres before doing some more as a safety stop. We were diving on air, but a Nitrox mix of 32% would have been very nice and enabled a longer bottom time. When we ascended, the current had picked up a bit was still very manageable. I think we could have easily done 32 to 35 minutes without a problem from the current.
 |
| A download from my computer showing our profile for the dive from midships to the bow and then to the stern of HMAT Kyarra |
This is a brilliant wreck, one of the most enjoyable I have done anywhere in the world. It is considered to be England's best wreck dive, I think that this is probably accurate. On the dive we had visibility of about 10 metres which the locals considered to be very good. The water temperature was just over 18° (in late August). A must do dive if you are in the area.
Photos taken from GoPro video footage.
References:
| 
 v6.00.307 © 2003-2005