 |
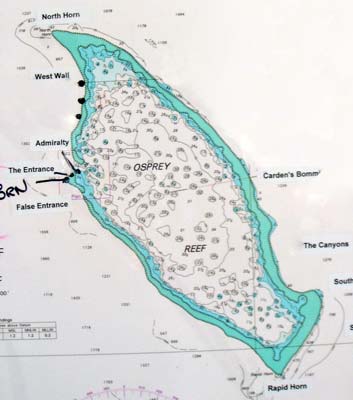
A chart of Osprey Reef
Raging Horn is at the far left |
Osprey Reef is located approximately 130 kilometres off the Great Barrier Reef in the Coral Sea. It is about 200 kilometres from the mainland. The reef itself basically runs from north-west to south-east and is about 30 kilometres long and 10 kilometres wide. There is a single decent entrance to the only lagoon (which is about 25 to 27 metres deep for the most part) that is located about two thirds of the way from the southern point to the northern point. Boats steam to Osprey from the GBR overnight, with most boats taking about 10 to 12 hours depending on the conditions and where you are leaving the main reef.
Raging Horn dive site is located on the western-most point of Osprey Reef. The mooring is located on a bommie at about 8 metres. The GPS Reading for the mooring is S13° 53' 28.9" E146° 33' 10.7" using WGS84 as datum. It is approximately 311 kilometres from Port Douglas.
The reef is composed of a section running from south-east to north-west and another section from north-east to south-west. On the south side of the point there is a ridge that comes off the main reef at 20 metres and goes to 30 metres. Off the western side it drops to 100 metres or more in a steep slope. On the eastern side it drops to a gully of 40 metres before the main wall is encountered.
As the current here predominantly comes from the south, you can be dropped about 200 metres to the south of the mooring and drift back to the mooring. There is a homemade FAD (fish attraction device) in this area (you may see the top buoy from the surface) and go about 50 metres past this before entering the water. After entering the water, drop to the reef which has a steeply sloping side.
Considering the visibility here is normally at lest 40 metres, you should see the FAD and almost as soon as you enter the water. The FAD is located on the ridge so you should swim towards it. From here follow the ridge off to the north-west. The depth gradually increases from 20 metres, reaching 30 metres at the end. This ridge has excellent fixed marine life, including numerous gorgonias and soft corals. You can take some very nice photographs in this area.
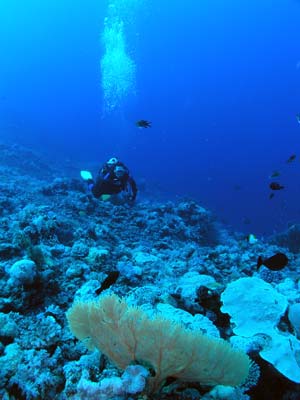 |  |
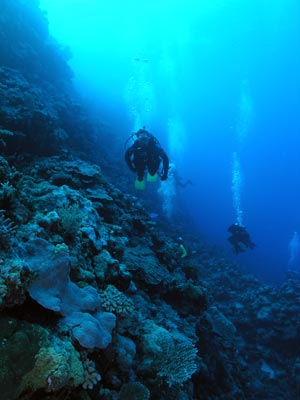
| A couple of photos of the reef at Raging Horn | |
As you go, look to your right and you should be able to see the main wall. This is important as you will need to cross over to it to complete the dive. Make sure that you also look to the left. Sharks should be seen in both locations. Also keep an eye out for barracudas and manta rays. This site is said to have about an 80% chance of seeing mantas. On our dive here, only two people saw a manta and this was off in the deep dark distance.
At the end of the ridge, you will see that the reef slopes down very steeply ahead and to your left. The bottom is at least 400 metres! There is no need to go much past 30 to 35 metres as the best area is near the top.
 | 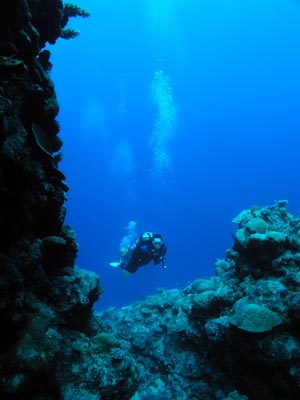 |
| Kelly McFadyen on the wall at Raging Horn | |
Once you have spent about 8 to 10 minutes in this area, it is probably time to move to the main reef. If the current is not too strong and you have normal (40 metre plus) visibility, you can cut straight across the valley between the ridge and wall, taking care not to drop to the bottom. If the current is a bit stronger, you may want to work your way back along the ridge until you are closer to the wall before crossing over. Once on the main wall, continue going with the current.
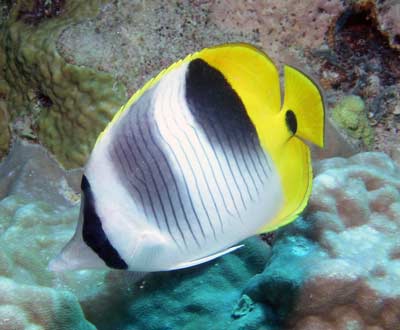 |
| A doublesaddled butterflyfish |
After a few minutes you will reach the corner. The reef here turns right and heads north for about 50 metres before it heads off in the main north-east direction. The mooring is located on a bommie at 8 metres and you should see this and the boat as soon as you round the corner. Spend some time at 20 metres or so. Go past the mooring and have a look at the reef here as well as keeping an eye out for sharks and mantas out in the open water.
Behind the mooring there is a gully that runs up into the reef. You can go up this for a while. Spend the remainder of your time on the top of the reef or near the top of the wall.
A great dive with lots of photo opportunities as well as the chance to see manta rays. Visibility is normally 40 plus metres and water was over 25C in November.
Click here to return to the Osprey Reef article page.
|  v6.00.307 © 2003-2005

