|
There are so many wrecks in Chuuk Lagoon (Truk Lagoon) that the vast majority of divers who visit this wondrous dive site never see more than about a third of the available wrecks. One of the lesser visited wrecks is the Seiko Maru.
The Seiko Maru was built by Harima Dockyard in Aioi, Japan. She was a 120.4 metre long, 16.2 metre wide freighter displacing 5,386 tons. Launched on 14 May 1940, the Seiko Maru entered service on 17 July 1940 for her owner, Darien Kisen. The ship had two direct geared steam turbine engines that produced 3,927 hp. They were built by Ishikawajima Shipbuilding and Engineering Company of Tokyo. The steam was created by oil powered boilers. Maximum speed was 16.14 knots and a cruising speed of 14.0 knots.
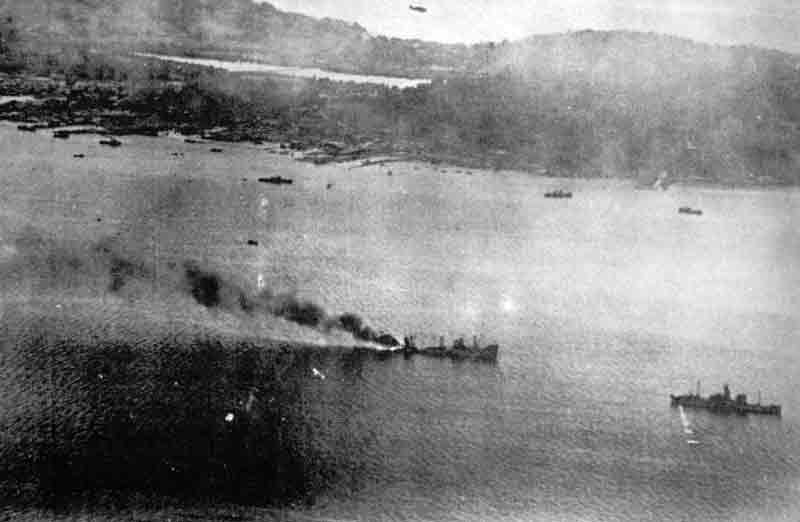 |
| The Seiko Maru is on fire and has not too long to live - Dublon Island in background |
Although the Seiko Maru was a freighter, it resembled an oil tanker in many ways. Unlike most freighters, its bridge was in the middle of the ship but its engine was at the very rear of the ship (like the Shinkoku Maru). This apparently also confused pilots during during Operation Hailstone over 17-18 February 1944 when the ship was attacked. They reported that it was an oil tanker.
The Seiko Maru was anchored to the east of Eten Island on 17-18 February 1944 when she was hit by a bomb on the port side adjacent to Hold 5, near the engine room. I do not know what day this happened. It is said that this ruptured the fuel tanks and started a fire. This ship then sank by the stern.
The wreck was located by Sam Redford in 1973. The bell was recovered and was on display at the Fisheries building in the township on Moen. It is not known where it is now.
Today the Seiko Maru is located at GPS N7º 21' 41.1" E151º 54' 15.0" using WGS84 as a datum. This will put you on the bridge which is where the dive guides will normally anchor. The ship sits upright on the sandy bottom, with the bridge in about 30 metres. The bottom is just under 50 metres.
 | 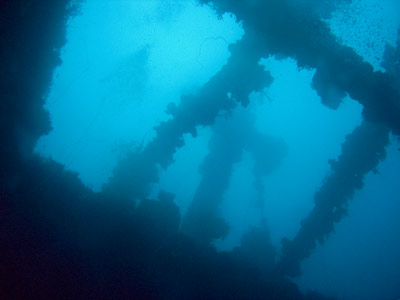 |
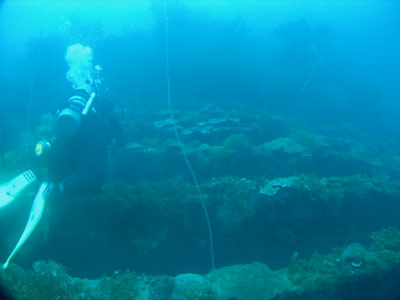
| Kelly McFadyen and Jessica McInnes over Hold 2 of Seiko Maru | Looking out of Hold 2 up towards the mast |
The best part of the shipwreck is the forward section. From the bridge head forward. Hold 2 has all the hatch beams across it but it is easy to enter. It is empty except for some scaffolding or pipes. In between Holds 1 and 2 is a large mast and some winches. Both the holds have no tween decks.
Hold 1 also has hatch beams across it but again it is easy to enter. When I dived it the bottom of the hold was fairly dirty, I am not sure if other divers had been there before us as we dived it fairly late in the morning. There are a lot of torpedoes on the bottom, probably about a dozen or so. Most are lying down, but one stands up high and another is partially broken in the middle, probably as a result of an oxygen cylinder explosion.
 |  |
| Above Hold 1 of the Seiko Maru | Looking out of Hold 1 |
In front of this is the forecastle. This has doors on the port and starboard sides. It is fairly cluttered inside and you cannot really safely enter it. The top of the forecastle near the bow apparently has a small artillery gun located there, but I did not see it.
From memory one anchor might still be in place and the other is out, but I am not certain of this. From here head back to the bridge. I think Kelly looked into the door on the starboard side but indicated that it had too many wires hanging down to safely enter.
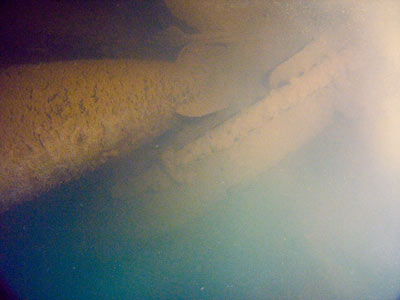 |  |
| The only one of the torpedoes that has its props visible in Hold 1 | This is the broken torpedo, probably caused by exploding oxygen cylinder |
 |  |
| Two of the many torpedoes lying flat in the hold | This torpedo is standing upright |
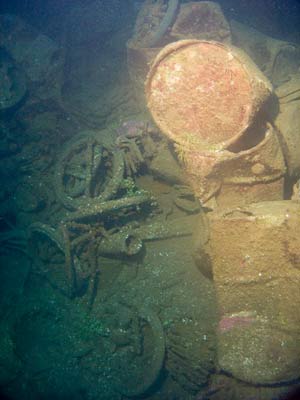
Go up a bit on the starboard (left side as you are swimming) and you can swim into an outside passageway on the bridge level. Go past the superstructure to Hold 3. This hold is quite interesting, with many collapsible bicycles in the back port corner. There are some other items near the bikes, but I could not identify all of them. At least some appear to be small tarpaulins or similar.
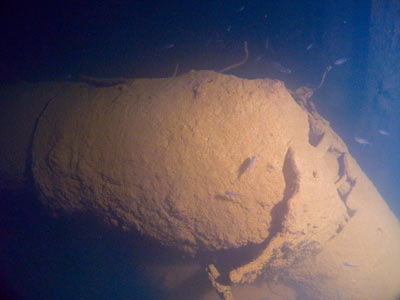
Hold 3 also contains numerous 200 litre drums (most appear to be empty as they have imploded under the pressure). This hold also has a stack of timber at the front. This is said to be coconut trees but it does not look like this to me.
 | 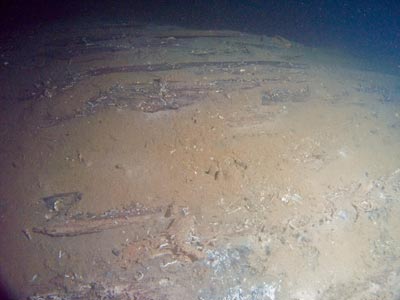 |
| The bicycles and other objects in Hold 3 | The timber in the front of Hold 3 |
From here go to Hold 4. The port side of the hold has a lot of damage and it seems that a bomb exploded here. I am not sure if this is the same bomb that hit Hold 5, but could be. There is definitely bomb damage here as you can see out through the hull from inside Hold 4. The hold appears to be empty. You can see the deck near Hold 5 from here and you will notice that it is greatly buckled, probably from the fire.
 | 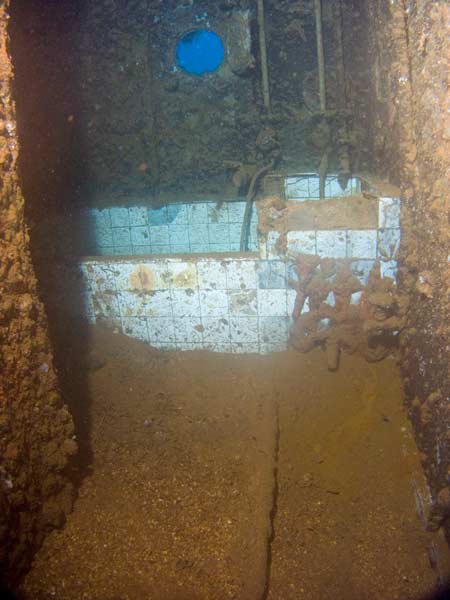 |
| A urinal and hand basin under the bridge area | One of the baths under the bridge |
Time will start to be getting short by now, so it is best to head back to the bridge. You can swim through some of the superstructure without any problem. Try the port side entering at the back. There are baths on all levels as well as toilets. There is also the remains of radios and some batteries on one level. The bridge itself is excellent. The bridge is on the top deck, there must have been a timber structure over it. Not only is there one telegraph, there is a second one as well as the helm. The telegraphs are located a little to either side of the centreline of the ship. The telegraphs and helm are very colourful.
 |  |
| The starboard telegraph on the bridge | The helm on the bridge |
Again, this is a great wreck that is not dived all that often. The visibility here is nearly always in the vicinity of 30 or more metres. A must do dive if you are diving Chuuk for two weeks.
Dives
References:
|  v6.00.307 © 2003-2005

